
Contents
Table of contents
Introduction
Building an inspection pit in a garage with your own hands
1. Dimensions of an inspection pit for a passenger car
2. Soil excavation
3. Drainage
4. Assembling the rebar cage
5. Tying into the floor
6. Preparing the base
7. Waterproofing
8. Ventilation
9. Insulation
10. Installing the rebar cages
11. Pouring the floor
12. Setting up the formwork
13. Installing the metal angle
14. Pouring the walls
Important!
The excavation for a garage inspection pit
Key points for the durability and safety of a garage pit
Planning and setting up ventilation
Building the inspection pit walls
Waterproofing materials
What to use to insulate an inspection pit
Lighting
A cover for safe use of the inspection pit structure
What is the optimal depth for a garage inspection pit?
Can an inspection pit be built where groundwater levels are high?
Does an inspection pit need ventilation?
Can electricity be used inside an inspection pit?
How long does concrete in an inspection pit take to gain strength?
Terms and definitions
DIY Inspection Pit in a Garage

Наталья Екимова - Менеджер одела продаж

p. 1. Introduction
Doing your own car repairs is an extremely durable and relatively budget-friendly option. To make this possible, you will often need an inspection pit in your own garage. Building this handy feature yourself is well within reach for anyone willing to try.
If you are wondering how to build an inspection pit in a garage with your own hands, here is a step-by-step guide.
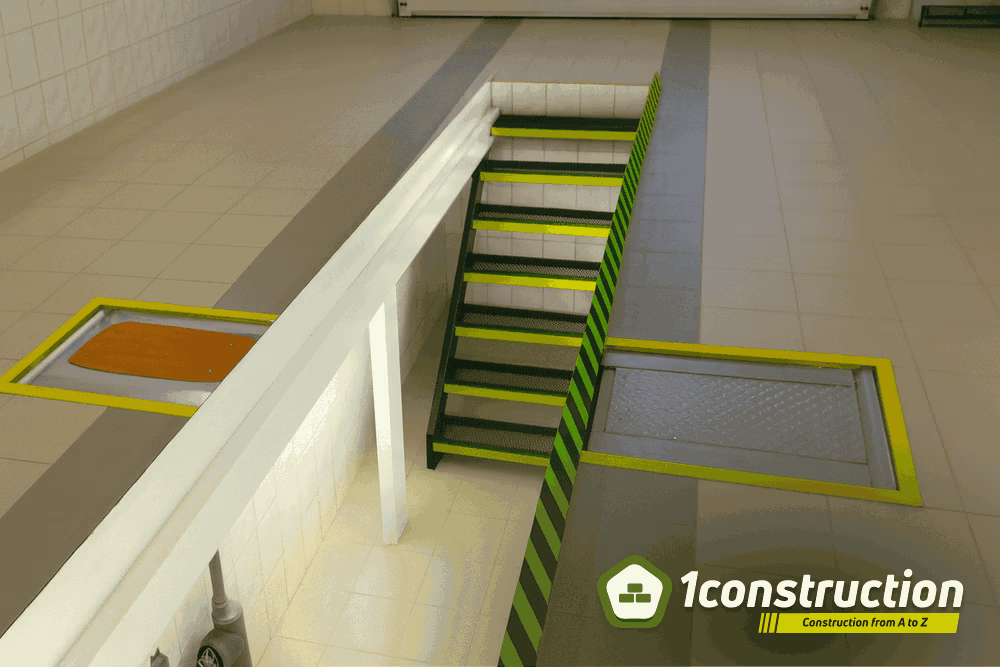
p. 2. Building an inspection pit in a garage with your own hands
1. Dimensions of an inspection pit for a passenger car
Pit size: the width of the pit should be 10 centimeters less than the car's wheelbase. So cut open the floor to a width equal to the car's wheelbase plus 10 cm. The length of the pit should match the garage length minus 80 cm from the back wall (to leave room to walk around). The depth of the pit should be at least your height plus the car's ground clearance.
2. Soil excavation
Soil can be removed by hand or with light earthmoving equipment, such as a mini excavator. Choose the depth with the future base in mind: the intended pit depth plus 25 cm.
3. Drainage
If groundwater levels are high in your area, you need to plan for a drainage system. To do this, a layer of crushed stone (10–15 cm) and drainage pipes that carry water away from the garage are laid on the bottom of the excavation.
4. Assembling the rebar cage
Build the rebar cages. The block size is 5 cm for the height of the pit, with a spacing of 60 cm between cages. Important: the cage must be tied, not welded.
5. Tying into the floor
Drill holes in the floor slab to tie the rebar cages into the existing floor.
6. Preparing the base
Lay 5 cm of sand on the bottom of the pit, level it, and compact it.
7. Waterproofing
Lay waterproofing. Concrete has a capillary effect and can absorb moisture, which leads to dampness.
8. Ventilation
Harmful gases can accumulate in the pit, so ordinary plumbing pipes should be installed on the back wall of the garage for natural ventilation.
9. Insulation
Use insulation, such as expanded polystyrene. It is applied to both the walls and the floor.
10. Installing the rebar cages
Install the rebar cages, tying them together and to the floor. The cage must be embedded in the concrete by at least 5 cm, otherwise the rebar will be exposed to corrosion.
11. Pouring the floor
Pour the floor with concrete so that its level is 5 cm above the rebar cage.
12. Setting up the formwork
Set up formwork with braces. The distance from the formwork to the rebar cage should be at least 5 cm, and 10 cm at the top. You can build the formwork yourself or rent it.
13. Installing the metal angle
Install a 5×5 cm metal angle along the edge of the future pit, pressing it firmly against the formwork and aligning it level with the floor.
14. Pouring the walls
Pour the pit walls with concrete.
Important!
There should be no electrical wiring in the pit, since being below ground level can be dangerous even at 36 volts. For information on what tools can be used in the pit, see a separate article on pneumatic outlets and pneumatic tools.
p. 3. The excavation for a garage inspection pit
If your garage floor is a quality concrete screed, you will have to cut it open. To do this, measure 1 meter from the left and right garage walls and mark the outline of the future pit with chalk. Cut the concrete with a metal cutting disc saw or an angle grinder. If there is bare soil under the screed, use a jackhammer or a rotary hammer to create a rectangular recess without going beyond the chalk marks.
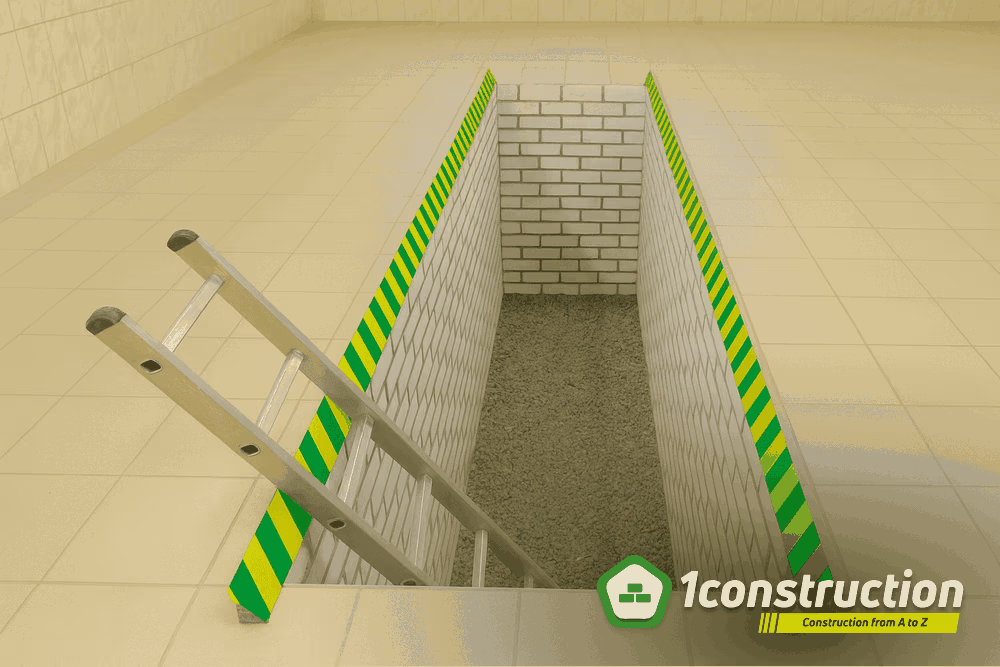 If your garage has a plank floor, it is easy to remove the boards with a wood saw.
Once the obstacles are cleared and you have reached the soil, you can start building the pit itself. It can be dug out with an ordinary spade, and the soil carried out with a wheelbarrow or bucket.
Optimal dimensions of an inspection pit in a garage for a passenger car:
- Pit depth — the owner's height plus the car's ground clearance (but no less than 180 cm).
- Pit width — 10 cm less than the car's wheelbase (but no less than 110 cm).
- Pit length — garage length minus 80 cm (but no less than 600 cm).
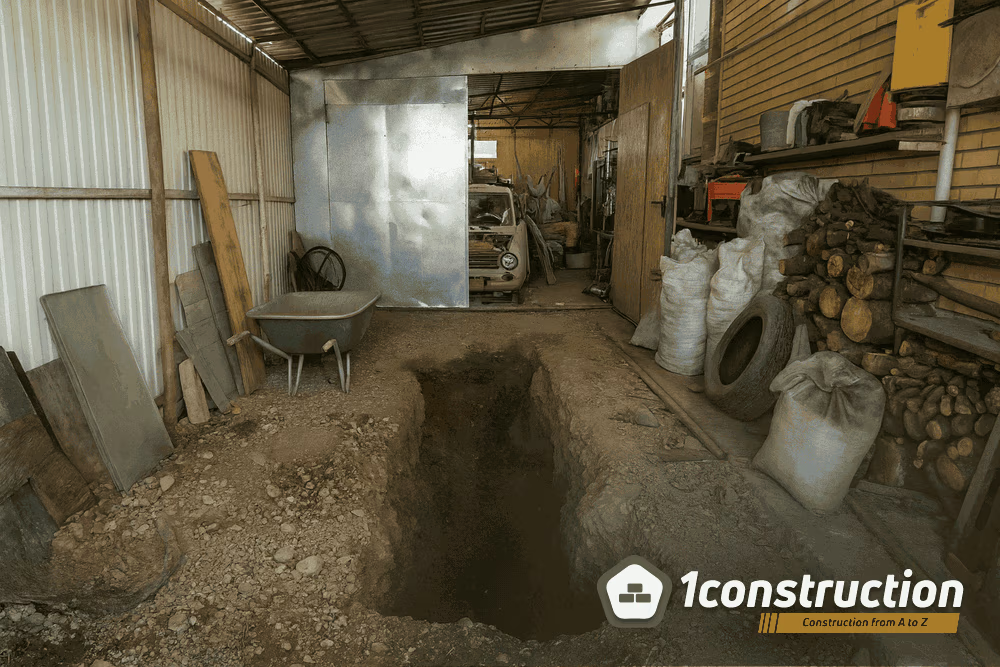 If the soil contains clay layers, it is not worth removing all of it. Clay is a good waterproofing material, so it can be used to fill the gaps around the pit walls to minimize water penetration.
p. 4. Key points for the durability and safety of a garage pit
For the structure to last a long time and remain safe, several key factors must be taken into account:
- A quality floor. A poor-quality base will lead to dampness, which can negatively affect the car and tools.
- Ventilation. Harmful gas can accumulate in the pit, so an air exchange system must be provided. To do this, an opening is left in the garage floor through which a flexible ventilation hose is routed 20 cm underground. It is covered with a cap on top. Floor-building algorithm:
- A cushion is laid under the concrete in 2 layers: 10 cm of gravel and 5 cm of sand. They are laid one after another. Each layer must be leveled and properly compacted;
- The surface is coated with a layer of clay and waterproofing is laid (more on this below);
- Then the rebar cage is laid and the concrete is poured directly;
- Once the concrete has fully dried, another layer of waterproofing must be laid;
- Then finishing work is done, or the base is left as is if you plan to insulate the structure. There is also an easier route – a DIY brick inspection pit. This is only an option when groundwater lies very deep on the site. In that case, quality waterproofing cannot be reliably achieved anyway. In this case, two critically important points must not be overlooked:
- a safety rail is needed. It keeps the car's wheel from falling into the pit and keeps moisture from it from getting inside the structure. It is a T-shaped metal strip attached to the formwork level with the floor. It also serves as a support for the pit cover;
- the wall should have niches and ledges built in. They will hold shelves for tools and other valuable items. Floor-building algorithm so your inspection pit doesn't let you down:
- The soil at the bottom of the finished pit must be compacted to a perfect standard;
- A cushion is laid: 10 cm of fine crushed stone, 5 cm of sand, 10 cm of gravel. Each layer is carefully leveled and compacted before the next is added. There should be several layers, each one thoroughly tamped down. Then the entire area of the inspection pit must be covered as tightly as possible with quality roofing felt. Sheet joints are overlapped by at least 15 cm and sealed with bitumen mastic. Next, a concrete screed with properly designed reinforcement needs to be built. A mesh made of good-quality rebar is installed at a height of up to 7 cm, after which the formwork is set up. It is better to mix the concrete with a concrete mixer rather than by hand. The technology and recipe must be followed strictly:
- M-400 grade cement – 1 part;
- medium-fraction gravel – 4 parts;
- sand free of silt and clay, preferably sifted – 2 parts.
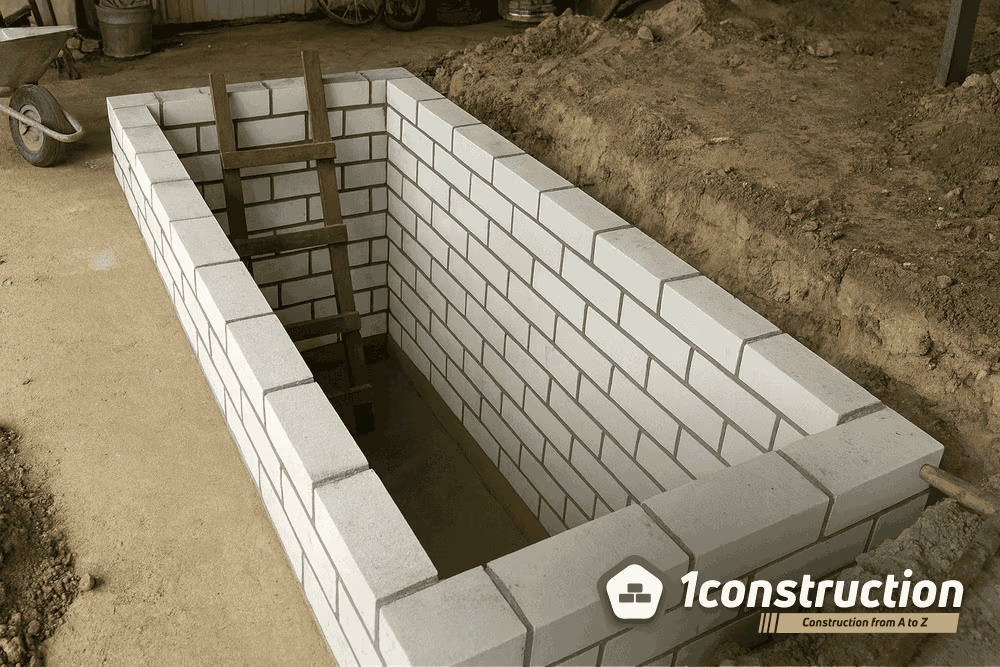 Also always remember the rule that helps you level the poured concrete mix properly: measure 6 or 7 cm from the top edge of the rebar mesh. Make marks along the perimeter of the inspection pit. Pour the concrete.
It is then left to gain strength for 4 days. Be sure to periodically dampen the surface with water from a spray bottle so it does not crack. Covering it with dense polyethylene film will help retain moisture.
p. 5. Planning and setting up ventilation
It's worth thinking in advance about whether you need universal ventilation for the garage inspection pit. In the first type of system, the main role in air exchange is played by the supply duct (arrow No. 1). It splits into 2 parts:
- a branch for the garage (arrow No. 2);
- a branch for the inspection pit (arrow No. 3). In the second type, the leading role is played by the exhaust duct (arrow No. 4). It is also split into 2 parts:
- a branch for the garage (arrow No. 5);
- a branch for the inspection pit (arrow No. 6).
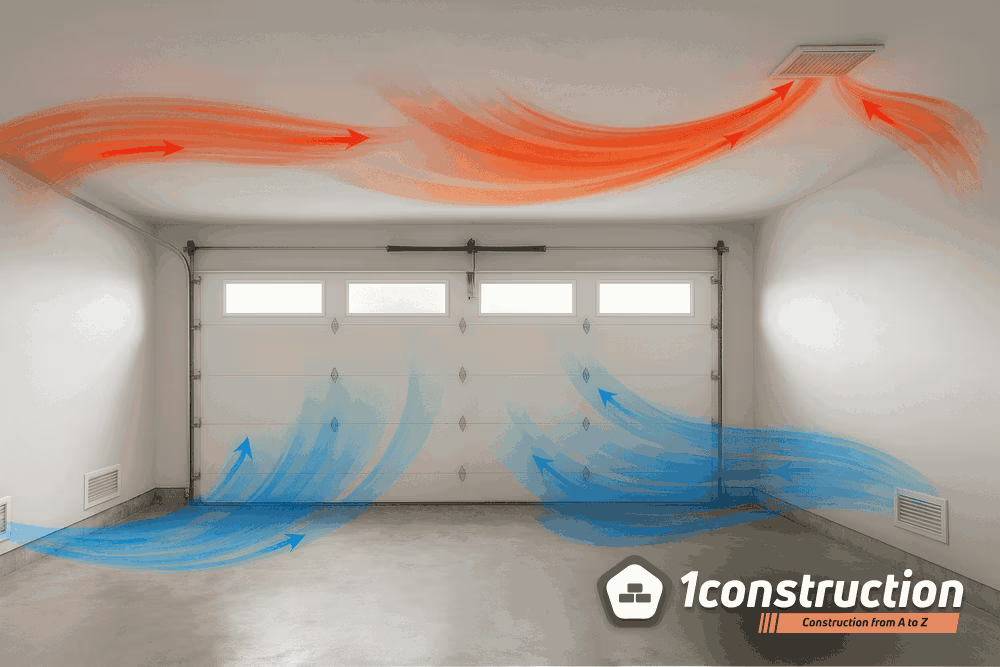 Usually garage owners only set up separate ducts on one wall surface. The opening for the supply duct is made 10–15 cm above the floor level. For the exhaust duct, the figure is increased to 20–25 cm.
The opening for the supply duct requires the installation of a special grille. Special requirements for both ventilation structures:
- perfect fit;
- reliable fixation to the structure with concrete.
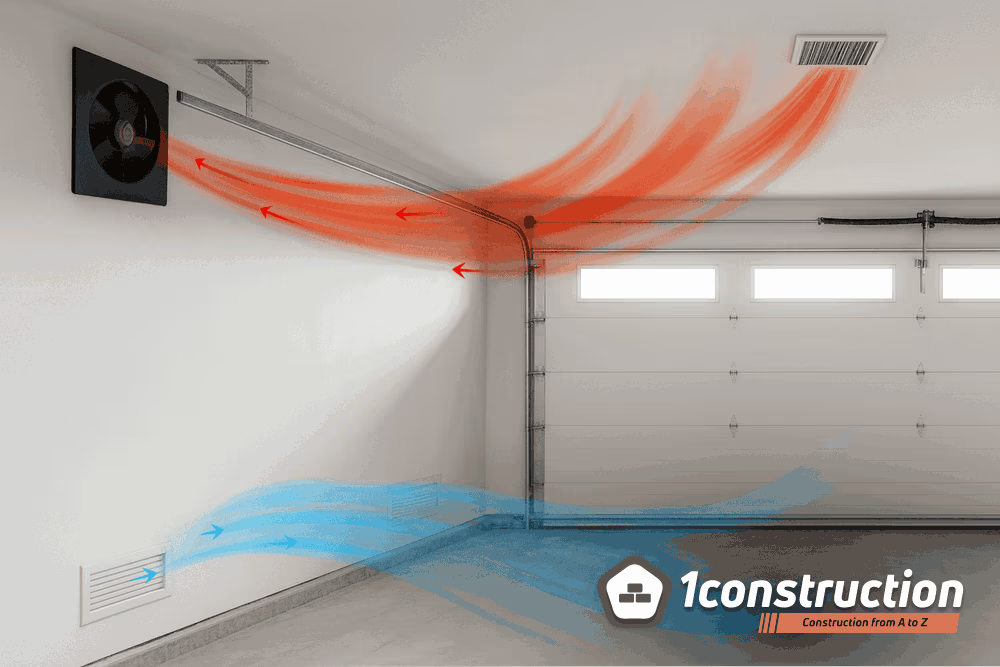 There is a nuance: ventilation pipes are made only from plastic! It's best to use a diameter of 10 cm. This is the best option in terms of quality and price. Also, don't forget that ventilation work can only begin once you have finished waterproofing the inspection pit.
p. 6. Building the inspection pit walls
You are free to choose whichever materials you like among the acceptable options. We recommend spending money on brick. This option is reliable and will last a long time. A gap of 10 cm should be left between the waterproofing and the masonry. We recommend reinforcing the walls with wire mesh every three rows of material. Algorithm of actions:
- A thick rope is stretched around the entire perimeter of the inspection pit. Make sure everything is perfectly level by periodically checking it with a spirit level. Check both the horizontal and vertical alignment. For the masonry, a cement mortar with a ratio of 3 parts cement to 1 part sand is ideal;
- The finished walls must be coated with a waterproofing material so the inspection pit does not become damp. The gap between the brickwork and the pit wall is filled with a mixture of clay and soil.
p. 7. Waterproofing materials
There are quite a lot of materials of this category on the market today, but far from all of them are optimal for protecting this garage addition from dampness. DIY waterproofing of an inspection pit must be done accounting for all the nuances and without violating the requirements and rules for such structures.
 The material must easily withstand exposure to high humidity in deep soil layers. It also should not be too expensive. The following options meet both of these criteria:
- single- and double-layer polymer membranes. Thickness varies: single-layer (from 1.5 to 2.00 mm), double-layer (up to 3.10 mm). A durable and long-lasting waterproofing material. However, installing it is not cheap and requires skill and professional tools;
- roofing felt and other bituminous roll materials, bitumen mastic and grease. Simple installation and low cost. Unfortunately, their useful service life does not exceed 20 years. On the plus side, you can do the job yourself without hiring a construction crew. Cut pieces to the size you need and install them with a 15 cm overlap. The joints can be heated for bonding or treated with a bitumen solvent;
- liquid waterproofing. Easy to apply. It is a modern, budget-friendly option for this kind of work. Before application, the rough surface must be moistened. In this case, the concrete will be saturated through its entire thickness and will be able to handle excess moisture.
p. 8. What to use to insulate an inspection pit
Insulation is almost never done for an inspection pit. This step is worthwhile, especially if you have a heated garage. Heating costs will drop, since you will reduce heat loss through the floor and walls of this structure. Insulation is attached with adhesive to brick or concrete walls. After that, you can proceed with finishing. In this case, expanded polystyrene is the best solution:
- floor: PSB-S-35;
- walls: PSB-S-25.
p. 9. Lighting
Many owners of garages with their own inspection pit almost never think about this point. Many believe that a lamp, an extension cord, or a battery-powered flashlight will handle this function just fine. Still, for your own comfort, it is better to install proper lighting. Don't forget to strictly follow all local and international electrical and fire safety requirements. The voltage at an outlet within the inspection pit space should be within 36 V. The classic 220 V format can create a real threat to life.
p. 10. A cover for safe use of the inspection pit structure
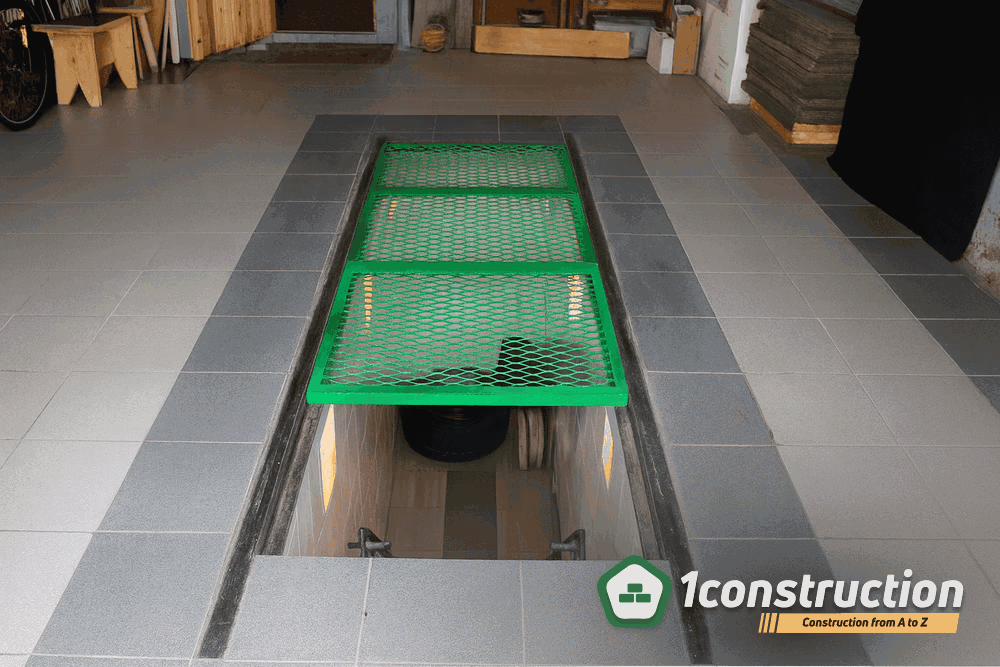
An extremely important element needed for safe operation, in order to prevent property damage or injury. Specialists recommend using boards 50 mm thick. They will be easier to lift, but less durable and long-lasting. The type of cover depends on the material you used to edge the inspection pit:
- a metal angle. The structure can be formed from 3-4 panels. Small rollers for moving them are attached to strips of metal on their underside. Each panel is made of wooden slats 30 to 35 mm wide;
- 2 angles joined by welding. The cover is formed by 2 large panels. They are positioned at different levels. Rollers are attached to the movable one, and stops are mounted along the edge. You can open half the pit by moving only that panel;
- a cover based on the roller-shutter principle. Boards 35 to 40 mm thick are used. You need enough of them to cover the entire width of the inspection pit. Grooves are cut into both ends of each board. A metal cable is threaded through them. Springs must be installed between the cable and the slat to give the structure mobility. The cable should be attached to the last board. A handle is fitted at the other end of the cover. A waterproofing impregnation is required.
p. 16. Terms and definitions
Inspection pit — a structure recessed into the ground inside a garage that provides access to the underside of a car for repair and maintenance. Rebar cage — a structure of tied-together reinforcing bars that strengthens the concrete walls and floor of the pit. Waterproofing — materials and work that protect a structure from moisture penetrating from the soil. Drainage — a system for carrying groundwater away from an excavation using crushed stone and drainage pipes. Formwork — a temporary mold for pouring concrete that holds the mix until it gains strength. Expanded polystyrene — insulation material used to insulate the walls and floor of an inspection pit. Roofing felt — a bituminous roll material used to waterproof the walls and floor of the pit. Reinforcement — strengthening a concrete structure with a metal cage to increase its strength.
